It’s rare that a recipe that comes with a new appliance turns out to be a revelation, but that is exactly what happened with a new ice cream maker whose recipe booklet suggested adding an egg white to the sorbet mixture as it churned. This simple addition transformed a basic base syrup into an ethereally thick sorbet, with a remarkably dense and pleasing texture. For the simple sugar base, characterless white sugar is switched out for dark, full-flavored coconut sugar, resulting in a rich, caramel color with a voluptuous caramel flavor to match. Add a touch of sea salt, and you savor the essence of salted caramel.
So why are we including coconut as a Nourish ingredient? While there are some carbon emissions associated with transportation, this is far outstripped by the impacts of dairy-related agriculture. When used in moderation and sourced from a fair trade-certified and sustainably managed farm, coconuts can be very people-and-planet-friendly. Organic farms that use intercropping (as opposed to monocrops) promote biodiversity and help to maintain soil health. The important thing is to buy selectively, from a company that farms on non-deforested land, preferably organic with farming systems that support biodiversity and are fair to the people who work there. There is also some interesting research emerging about coconut farm’s potential to sequester carbon, making it a potentially beneficial crop for combating climate change.
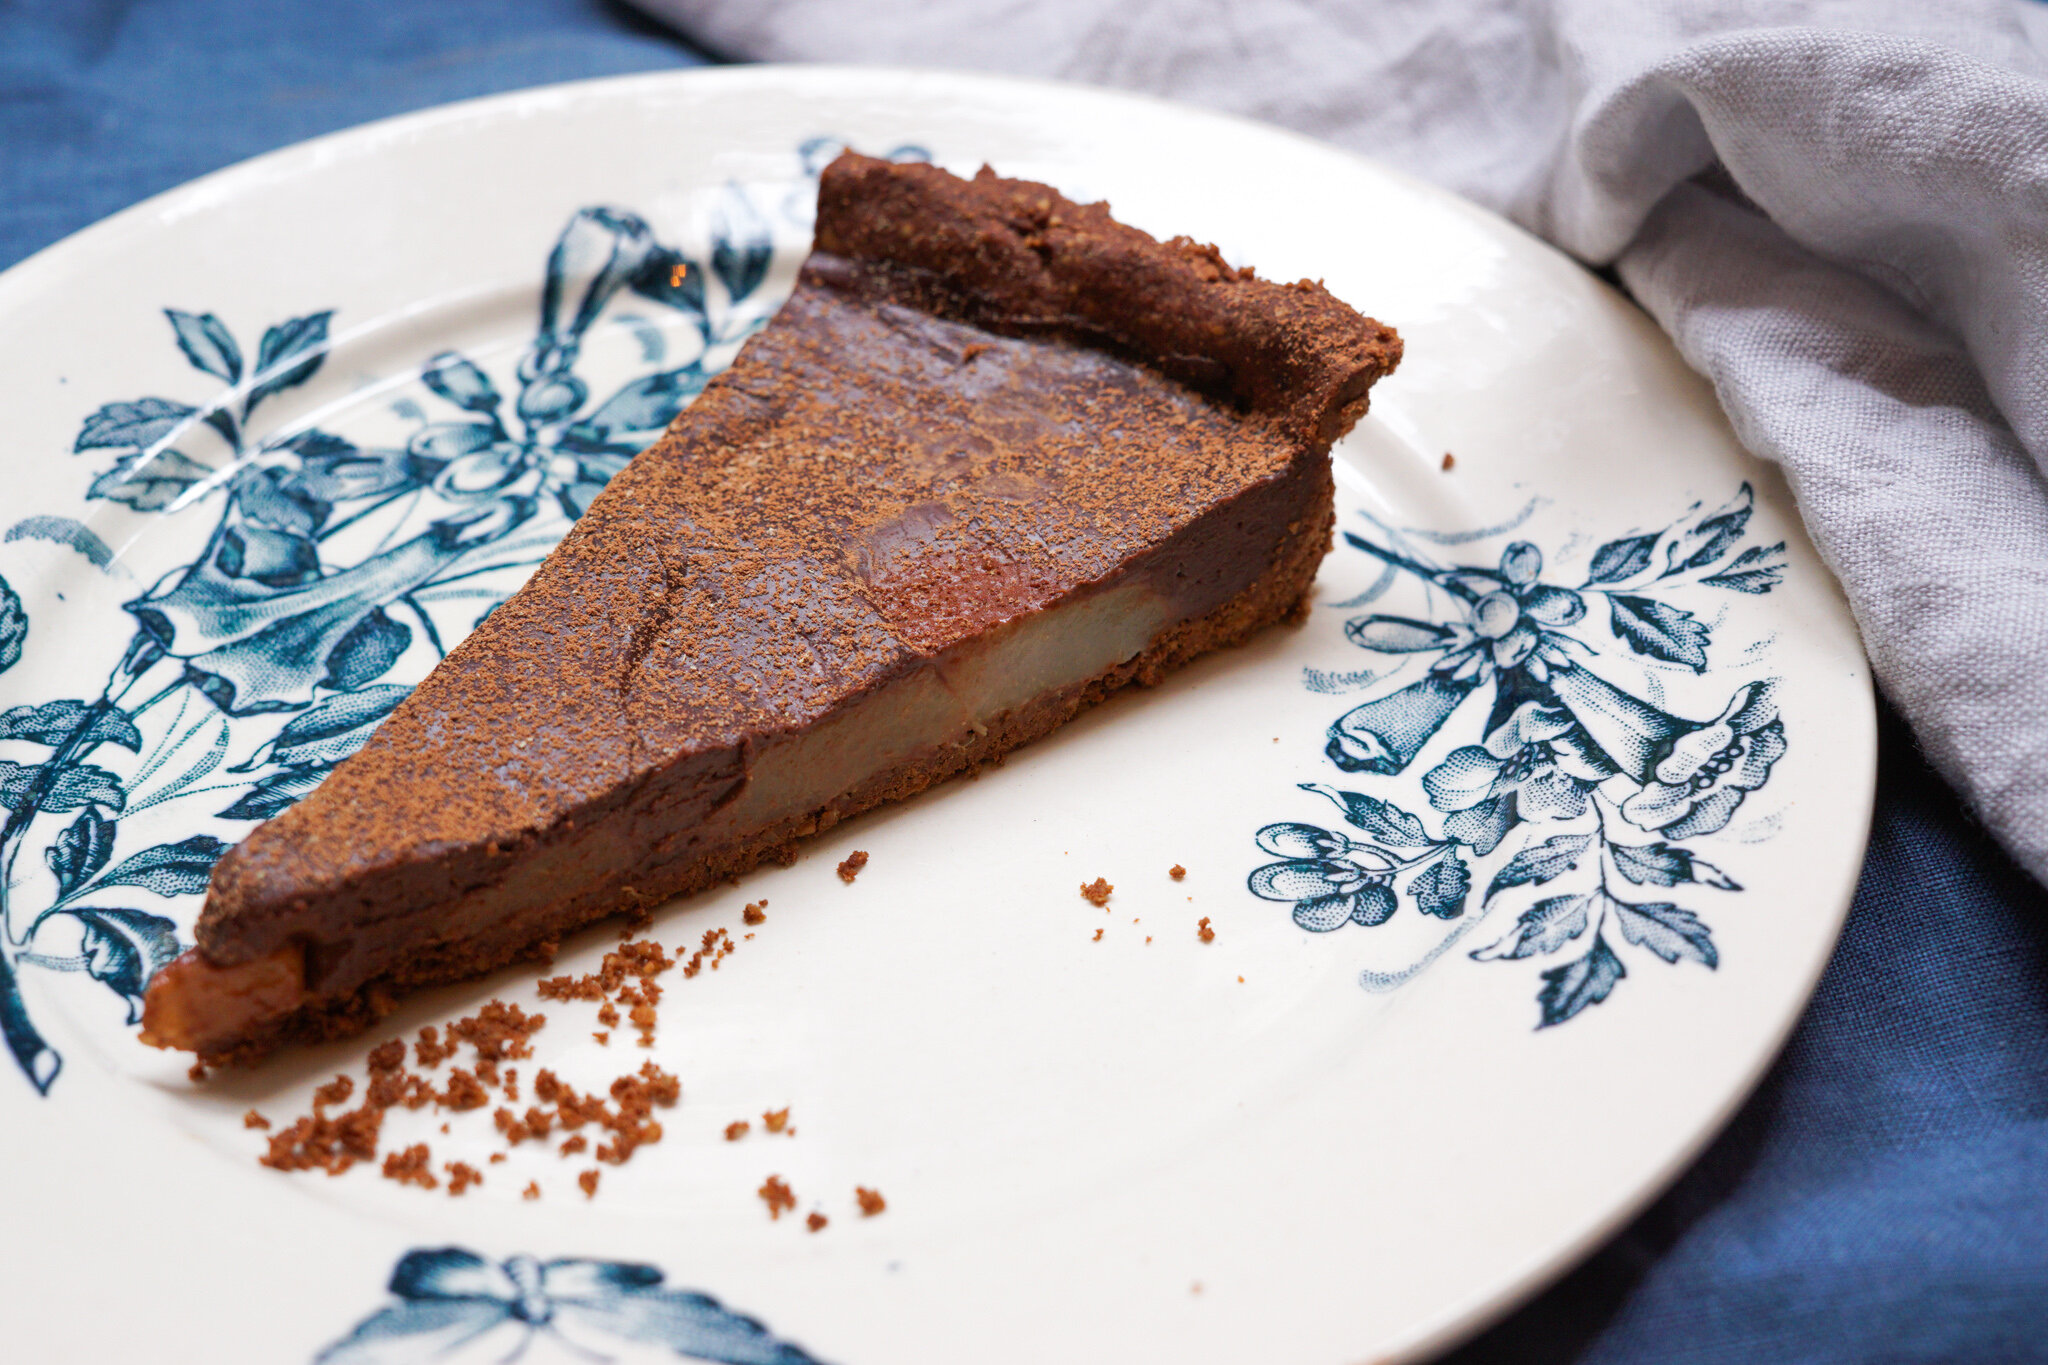
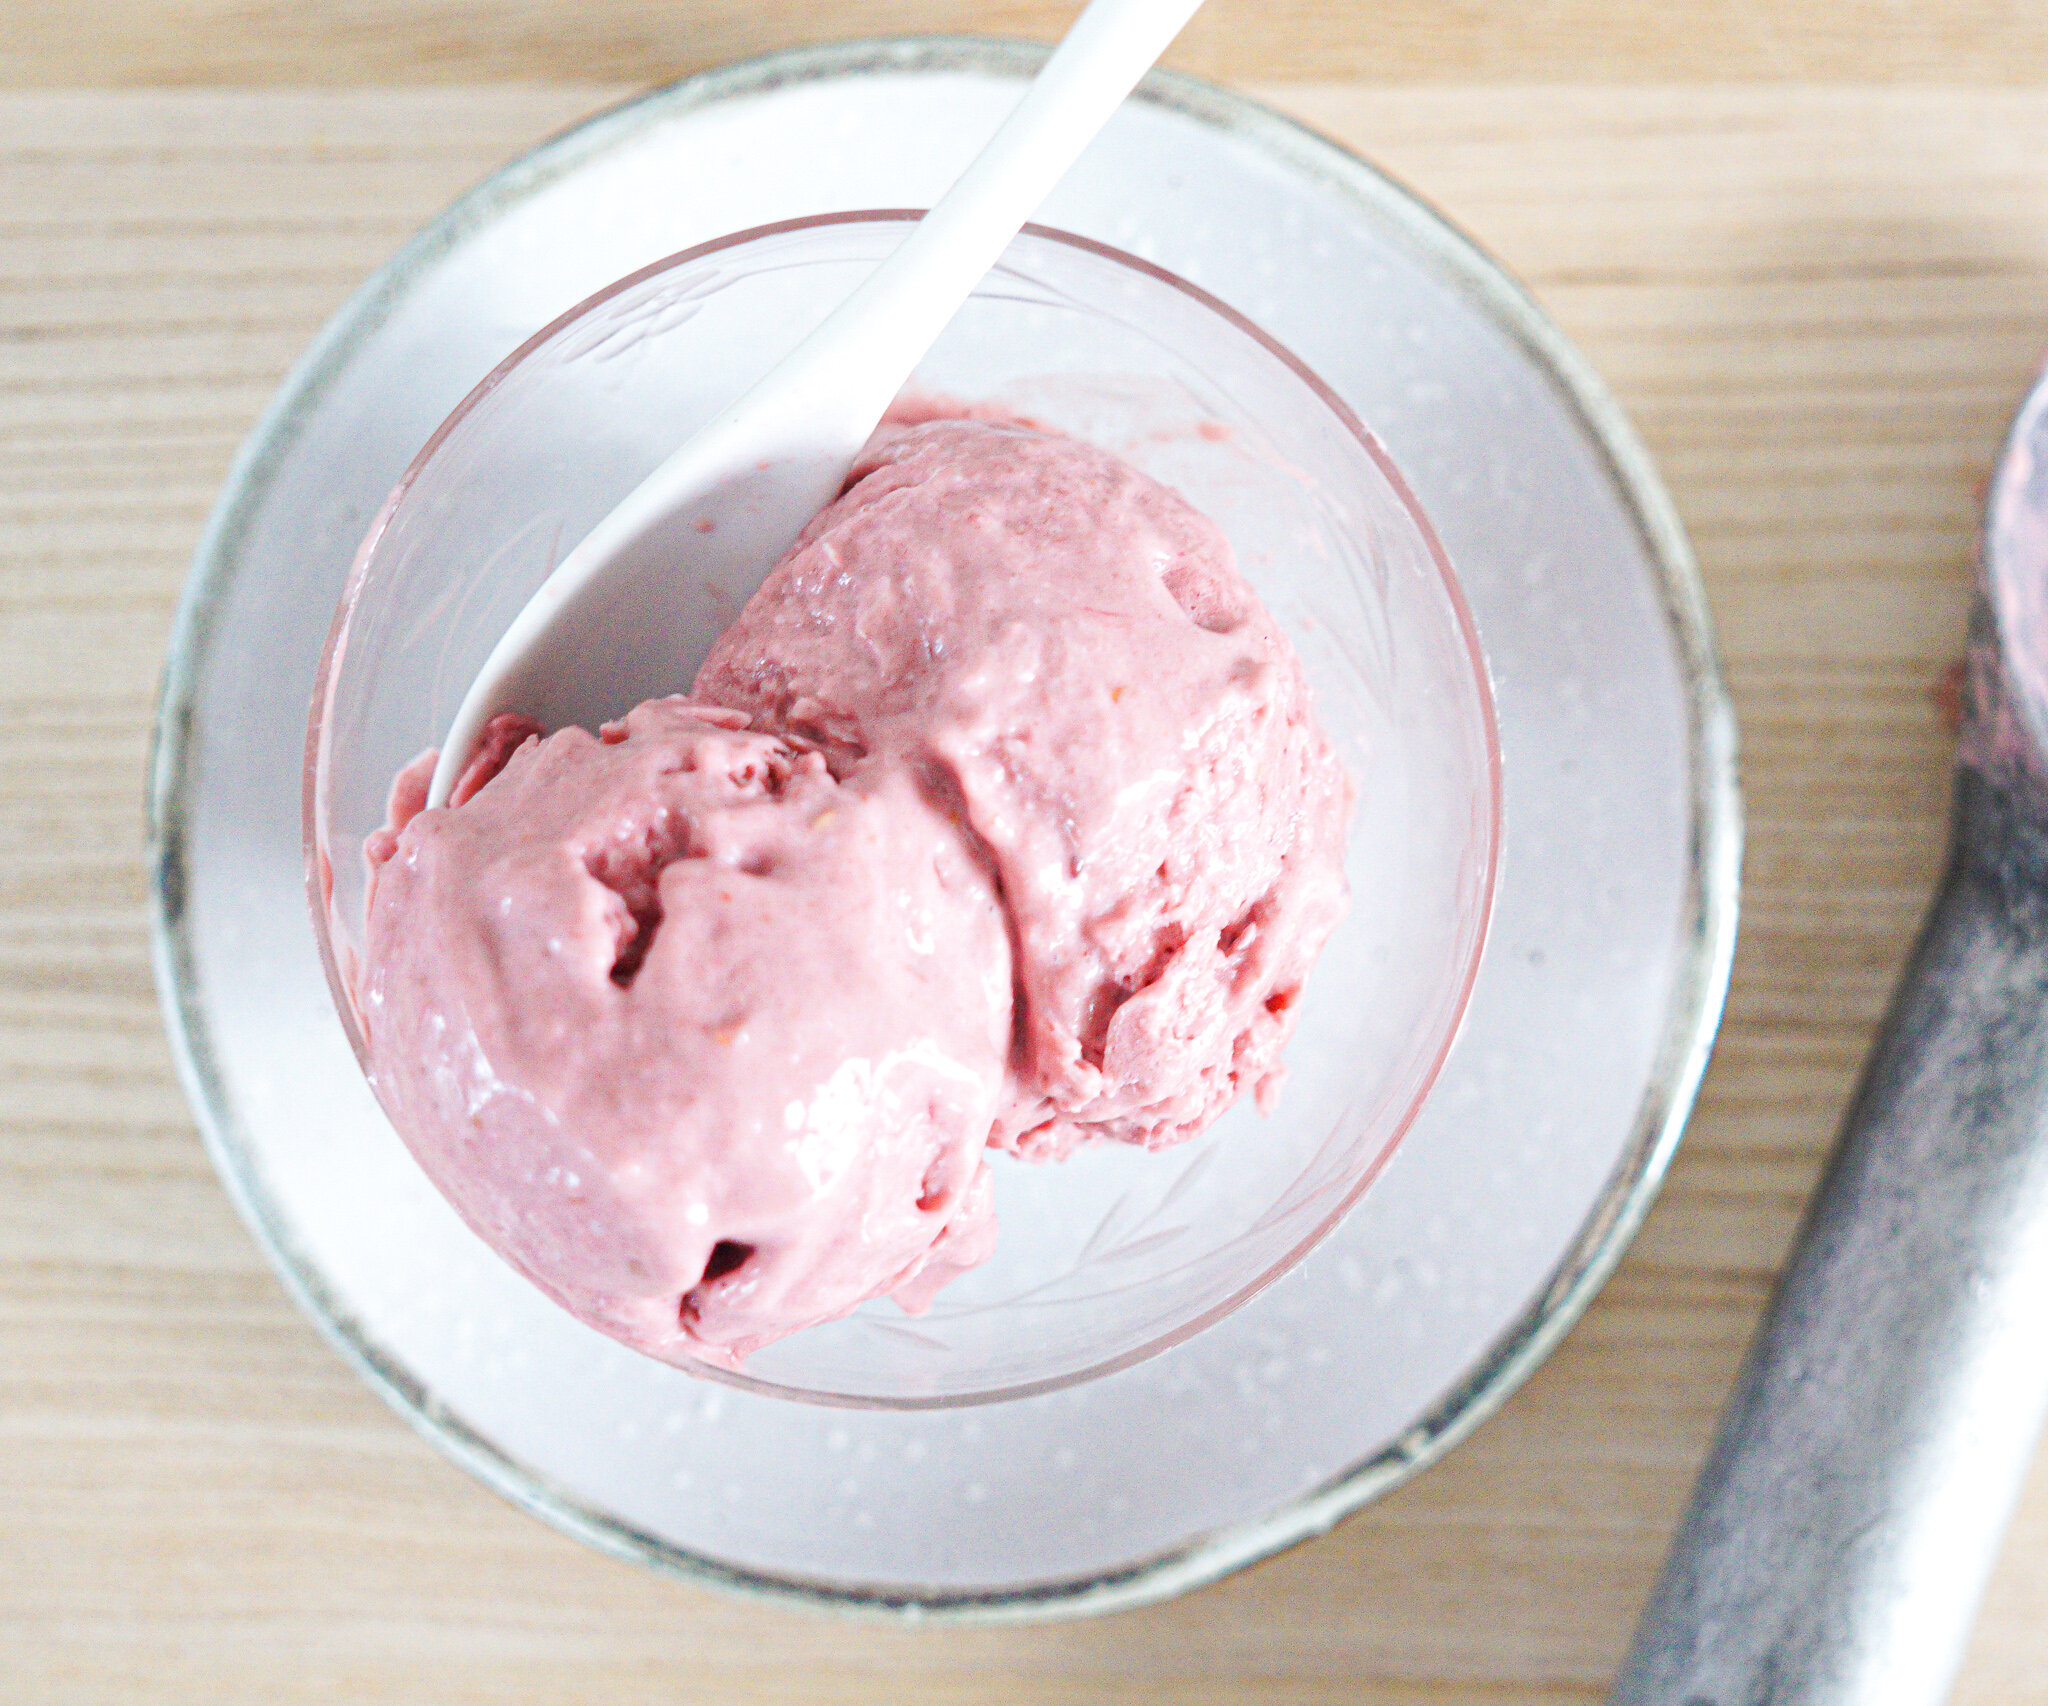
Coconut Sorbet
8 servings | Equipment: An ice cream maker; 8 chilled ice cream bowls
Ingredients
Coconut syrup
1 cup (250 ml) water
1 cup (200 g) organic coconut sugar
Sorbet
1 2/3 cup (about 400 ml) organic coconut milk
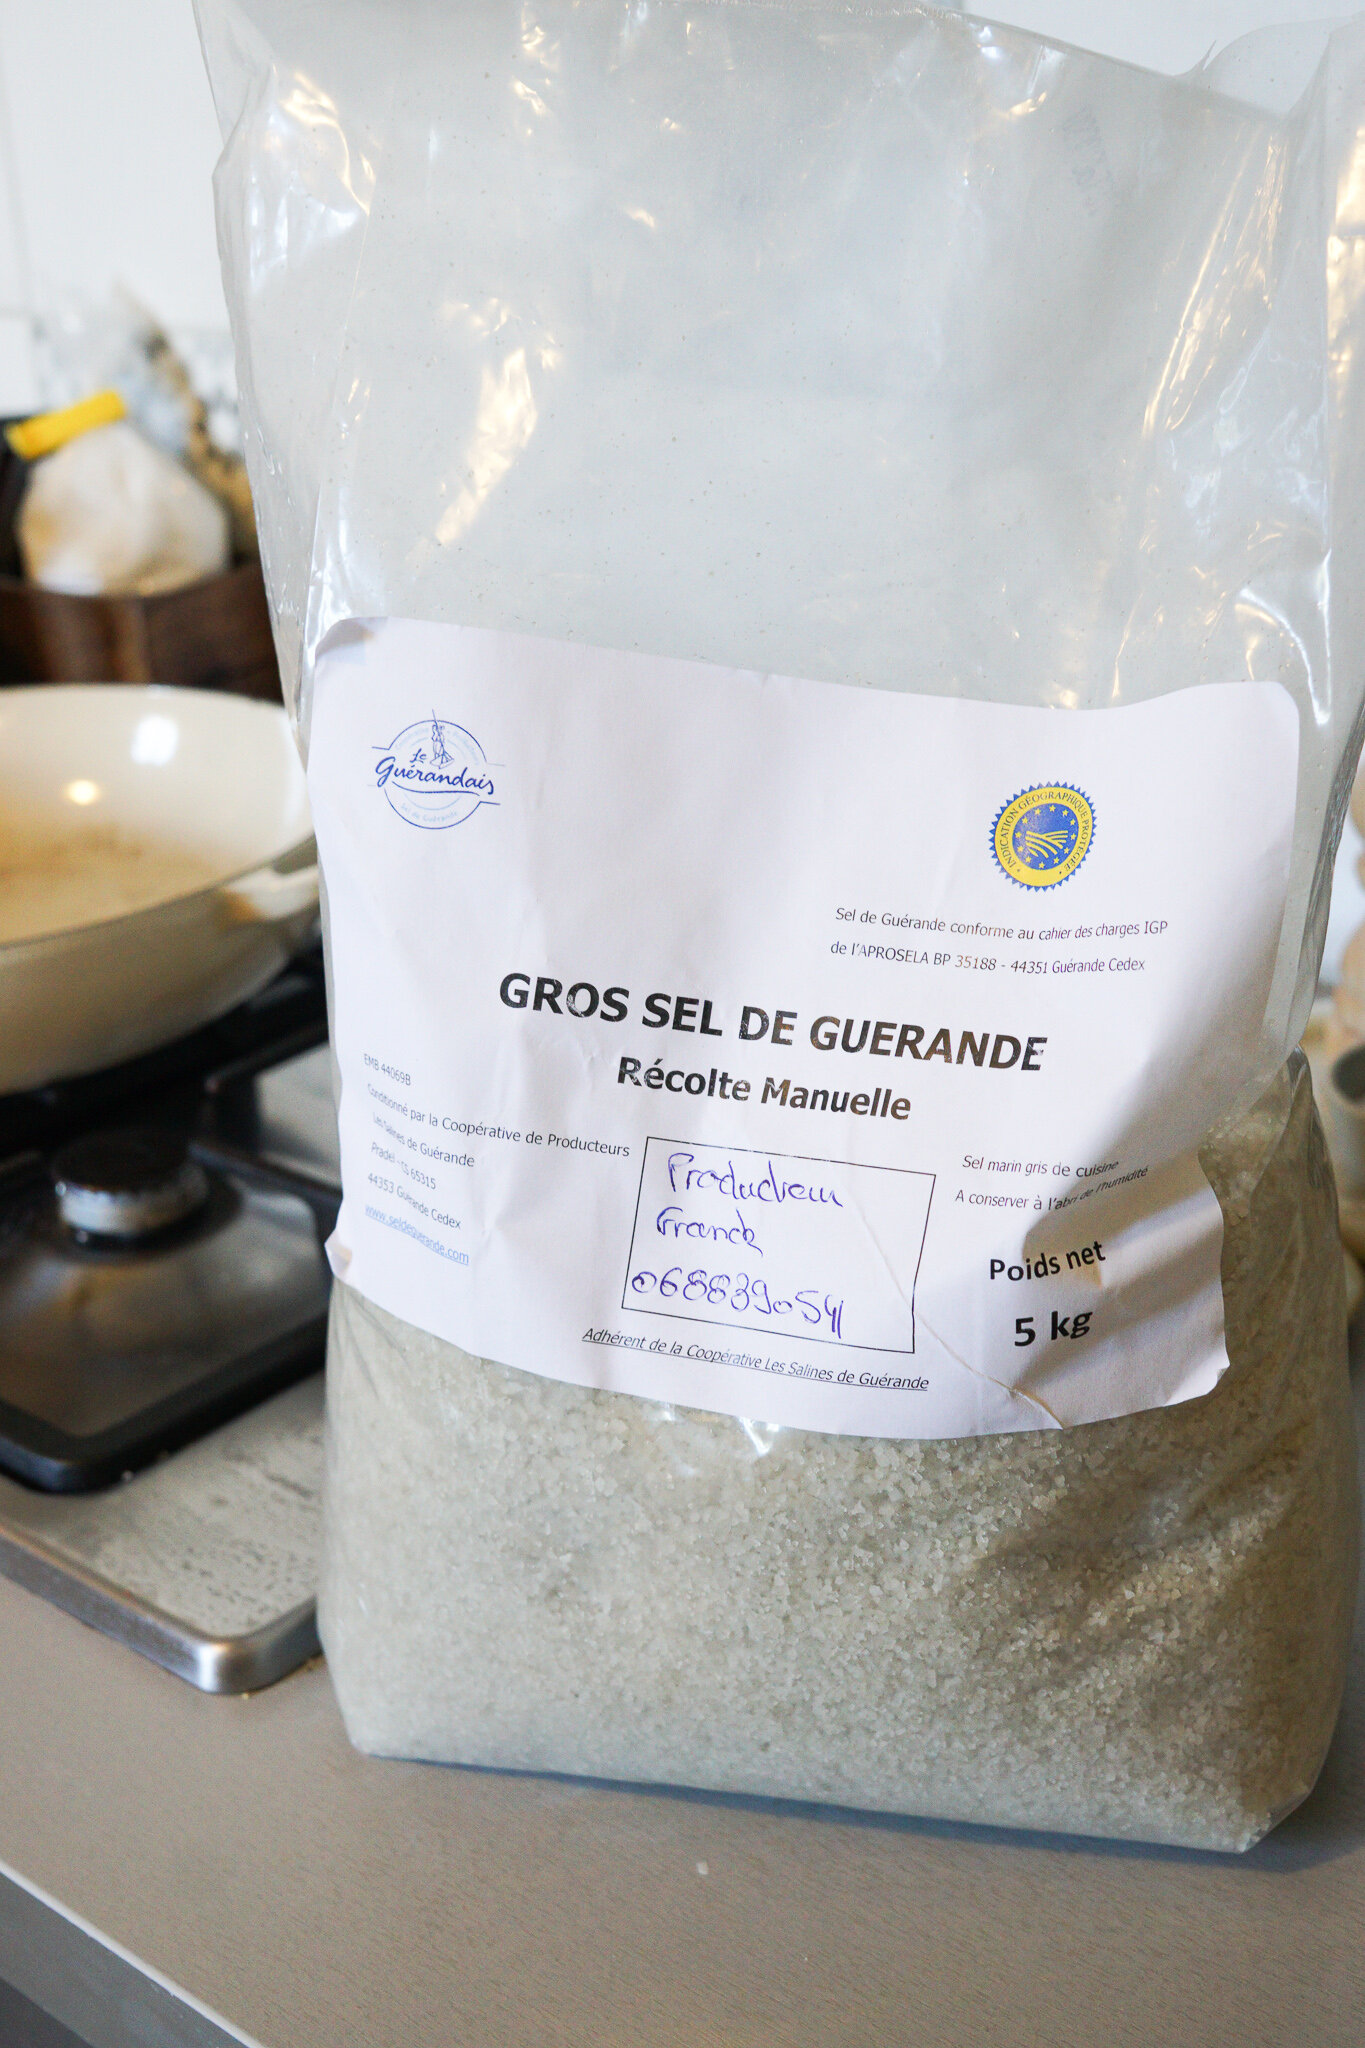
1/4 teaspoon fine sea salt
1 organic egg white, lightly mixed with a fork
Dessicated coconut, for garnish
Method
1. Prepare the coconut syrup: In a small saucepan, combine the water and coconut sugar over moderate heat. Stir to dissolve the sugar, and bring just to a boil. Remove from the heat, let cool, and refrigerate in an airtight container up to two weeks.
2. Prepare the sorbet: In a measuring cup with a pouring spout, combine the coconut syrup, coconut milk, and salt. Stir to combine. Transfer to the bowl of an ice cream maker and freeze according to manufacturer's instructions. As the sorbet mixture begins to thicken, remove 2 tablespoons of the sorbet mixture, transfer to a small bowl, and with a fork, mix together with the egg white. Return this mixture to the bowl of the ice cream maker. Continue to freeze until the sorbet reaches the desired consistency. For best results, serve the sorbet as soon as it is frozen and garnich with dessicated coconut. Do no re-freeze.
This is a Nourish the Planet recipe, part of a collaborative series by Patricia Wells and Emily Buchanan.
© 2020 – All rights reserved. Please do not reproduce without permission.
Find our more here about why we created this series.